Ambience reverb

What it does
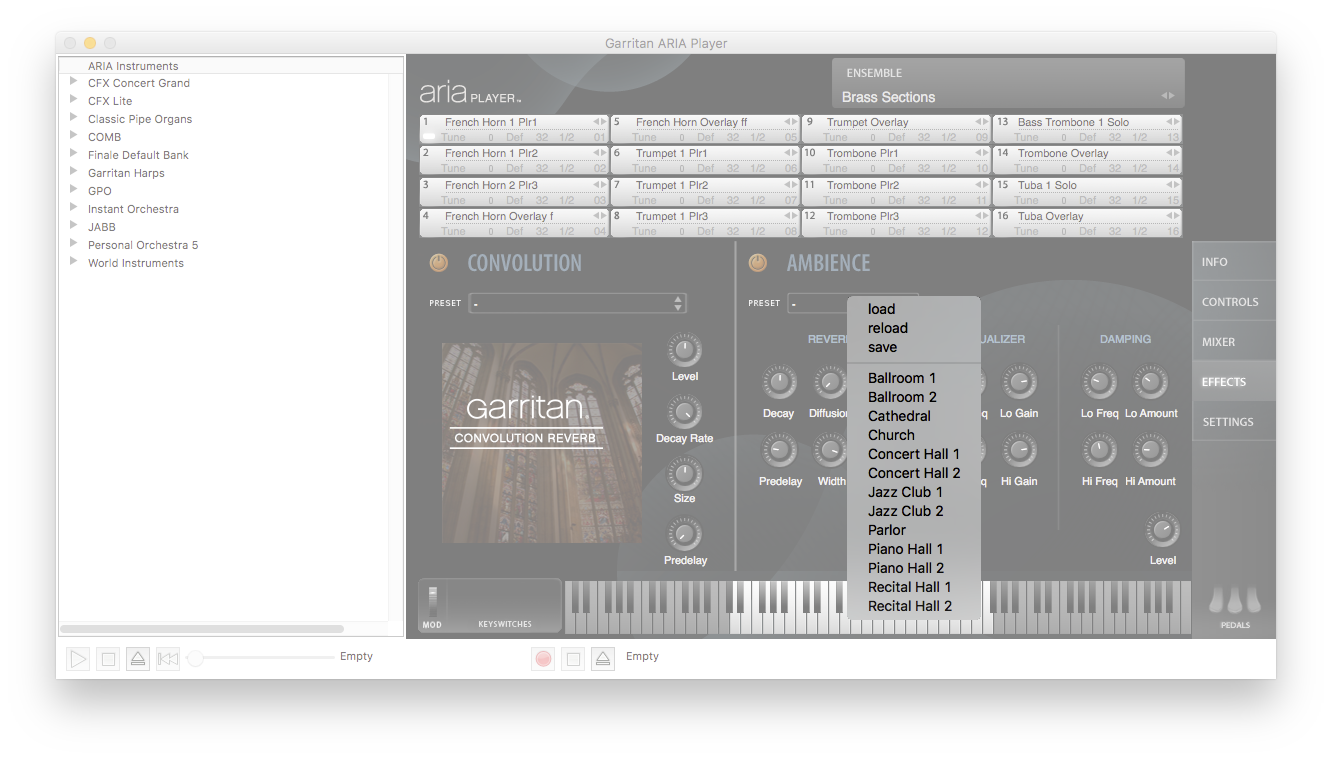
Just as hardware synthesizers and softsynthA piece of software that simulates the sound of a musical instrument. Softsynths can be used to play back existing MIDI sequences or to act as a live virtual instrument. Abbreviation of software synthesizer. plug-ins are designed to simulate musical instruments, Ambience allows you to simulate the reverberationThe audio phenomenon that occurs when a sound is reflected and absorbed by surfaces in a physical space. Reverberation effects are used to add depth and realism to audio recordings. Commonly abbreviated as reverb. of a cathedral, concert hall, and many other spaces. Ambience has a number of performing space presets from which to choose. These presets have been custom-made and it is recommended that you begin with these presets. Presets include Ballroom 1 & 2, Cathedral, Church, Concert Hall 1 & 2, Jazz Club 1 & 2, Parlor, Piano Hall 1 & 2, and Recital Hall 1 & 2. You can also edit these presets or experiment with the various settings to customize the acoustical environment as needed.
For individual instrument patchesA particular instrument sound, often containing multiple samples. The term is borrowed from physical synthesizers in which cables were used to connect sound modules. Also referred to as program. and most ensemble presets, Ambience reverb is turned on by default and to deactivate it you must click the on/off switch ( /
/ ) located in the Effects view. For ensemble presets in the Garritan Classic Pipe Organs and Garritan Harps libraries, Convolution reverbA sampled reverb effect included with the ARIA Player. Like a sample library consists of actual recordings of a musical instrument, Convolution consists of actual recordings (known as impulse responses) of the reverberation of a physical space. is on by default and Ambience off. It may not be necessary to use Convolution reverb when using Ambience or vice versa. Additionally, there are some situations where you may want to use both Ambience and Convolution reverb to exaggerate a certain space or element.
Turn reverb on or off so that you can easily hear loaded instruments with either no reverb or with the current reverb settings.
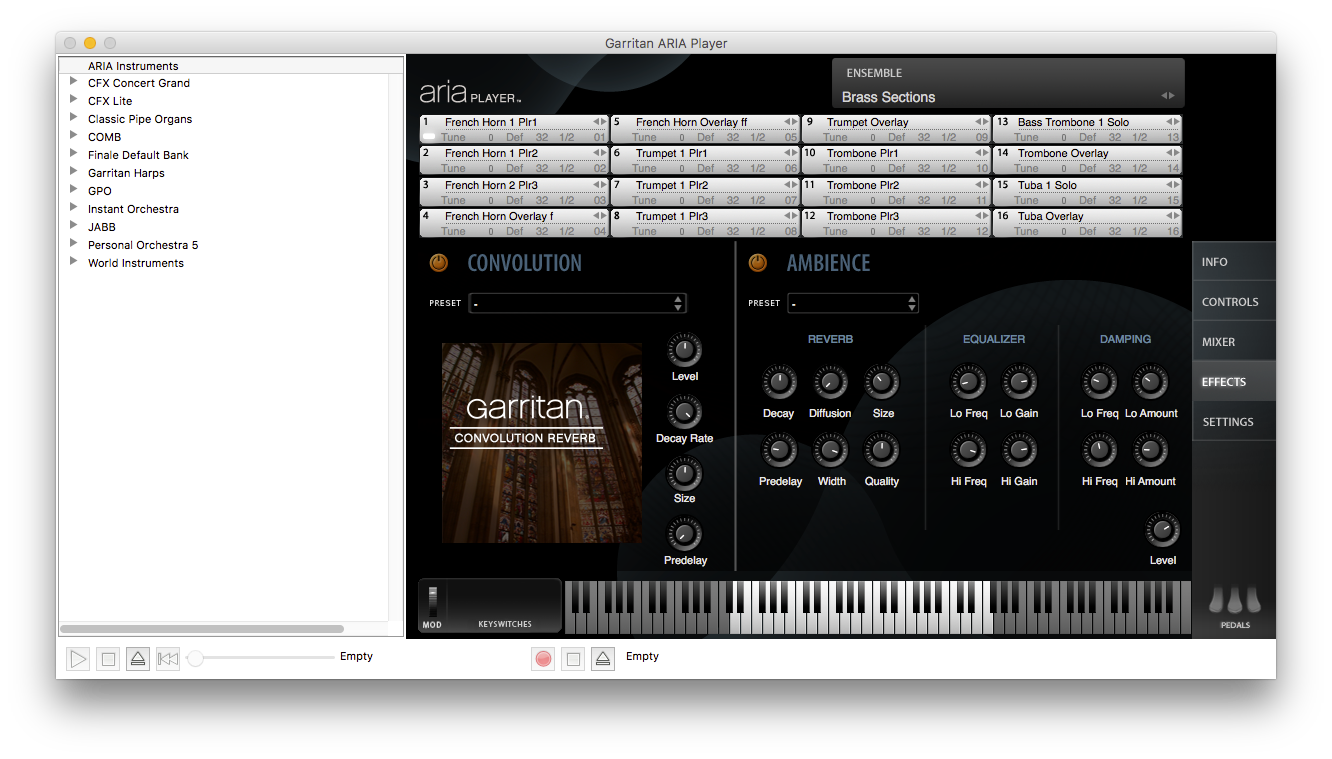
- Click the Effects button. The Effects view appears.
- Under Ambience, click the power button to turn reverb on or off .
This button works exactly like the bypass option commonly available to audio plug-ins.
- Click the Effects button. The Effects view appears.
- Turn Ambience reverb on .
- If desired, click the Preset menu and choose a preset from the drop-down menu that appears.
- AdjustClick and drag the knob up or right to increase and down or left to decrease. the control knobs until you achieve the desired reverb sound.
- The Decay knob controls the time it takes for the reverb reflections to fade away into silence. Along with Size and Predelay, this is one of the most important controls.
- The Diffusion knob controls the reflecting surface’s ability to spread the reverb out. This control has a subtle effect on the sound and is especially noticeable with small room sizes.
- The Size knob controls the size of the room. Note that long reverb time (decay) and small room size do not mix well. For natural sounds, the room size should correspond with the length of the reverb time. Along with Decay and Predelay, this is one of the most important controls.
- The Predelay knob controls the amount of time between the instrument sound and the first of the reverb reflections, defining the perception of the size of the space. Along with Decay and Size, this is one of the most important controls.
- The Width knob controls the stereo spread from mono (0%) all the way to a wide stereo (100%). It is recommended that the width be set close to 100%.
- The Quality knob controls the render quality of the reverb effect. High quality equates to high CPU usage. If there is too much CPU demand on your machine while running ARIA, try turning down the quality. You can also produce interesting effects if you set this control very low.
- The four Equalizer knobs provide a two-band EQ to control the overall timbre of the reverb. They can be useful for cutting away bass that can otherwise make the reverb sound muddy. They can also help to simulate the roll-off in response at high frequencies that is characteristic of most concert halls.
- The Damping knob controls how the character of the reverb develops over time as it decays. Similar to the 3-band EQ control, use this to control the decay time of bass and treble independently.
- The Level knob operates like a return level, determining the volume of the reverb.
- Click the Mixer button. The Mixer view appears.
- AdjustClick and drag the knob up or right to increase and down or left to decrease. the Send knob for each instrument to which you want to apply Ambience reverb.
This knob functions as your wet/dry control, determining how much of the instrument signal to send to the reverb.
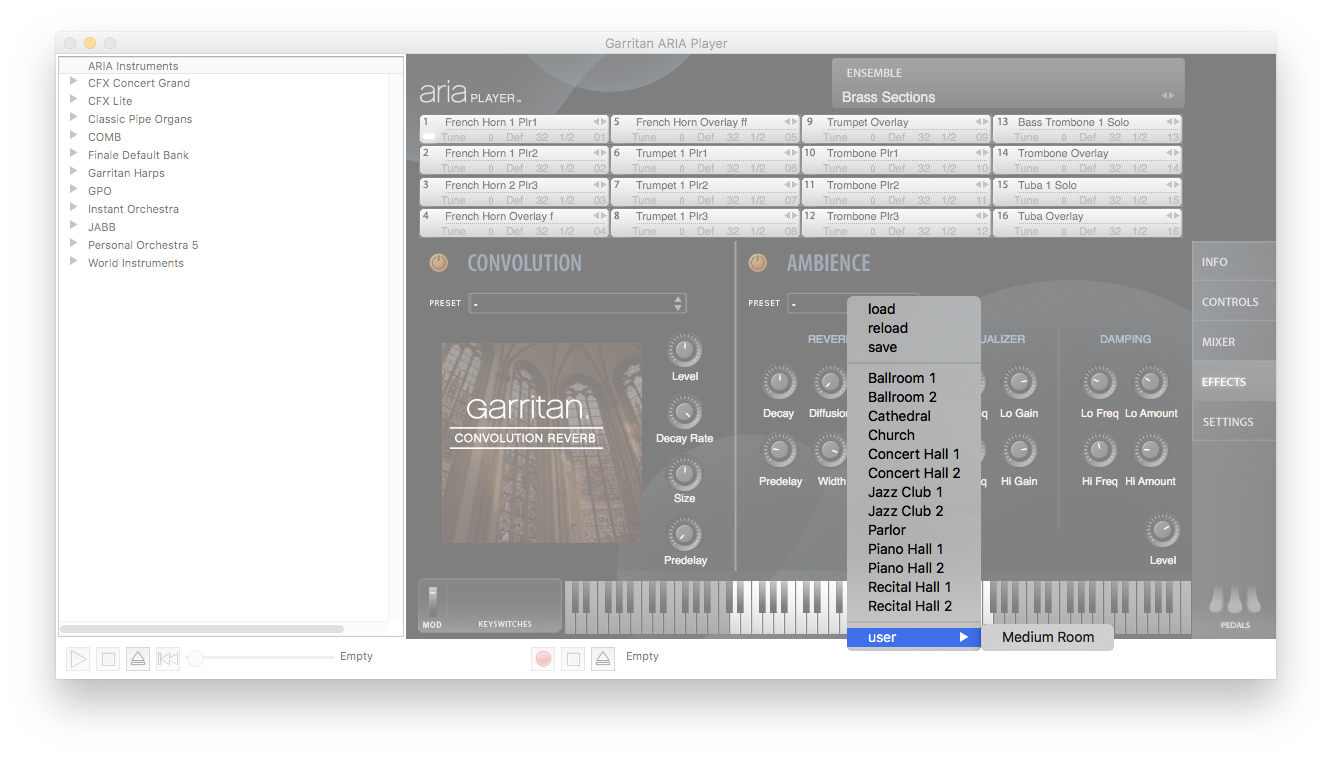
If you have saved a custom preset, a user menu appears from which you can load the custom preset.
You can also choose to load an external impulse response by clicking load aria preset and navigating to the location of the ARIAP file.

If after loading a preset and adjusting the settings you decide that you prefer the original sound of the preset, reload the preset to restore its original settings.
- Click the Effects button. The Effects view appears.
- Click the Preset menu and choose reload.
- Audition the sound using the onscreen keyboard or your connected MIDI controllerAny device, such as a piano keyboard or wind instrument, that transmits performance information as MIDI data. The ARIA Player can use these devices for live playback and control..
Note that the only visual indication that the preset has been reloaded is that the control knobs have been reset to their default values.
If you've created a sound that you want to use for future projects, save your settings as a preset.
- Set the appropriate Send knob(s) in the Mixer view and click the Effects button. The Effects view appears.
- Turn Ambience reverb on .
- If desired, click the Preset menu and choose a preset from the drop-down menu to serve as a basis for your custom preset.
- AdjustClick and drag the knob up or right to increase and down or left to decrease. the control knobs until you achieve the desired reverb sound.
- Click the Preset menu and choose save. The save ariap dialog box appears.
- Name your preset and click Save.
In order to easily load your preset from the Preset menu, save your preset to the default com.Garritan.Ambience folder. The com.Garritan.Ambience folder is the default location for user-created ambience presets for all of your ARIA engine products.
Presets saved in the default location display in a user sub-menu within the Preset drop-down menu.
Leave feedback on this topic
ARIA Player User Manual
Copyright and trademarks

