Presets

What they do
Presets are pre-made configurations of settings for the Garritan Abbey Road Studios CFX Concert Grand. The included presets were designed to recreate the sound of artists, genres, notable recordings, cinematic settings, and various performance venues.
Although presets exist for other elements within the virtual instrument, such as convolution reverb and velocity curve, presets in the Preset menu contain settings for the entire virtual instrument. A preset will load not only a mic perspective, but also a combination of other settings, like close and ambient mic volumes, reverb, EQ, and sustain resonance. This kind of preset is saved into an ARIAX file. Load the included presets, or create and save your own.
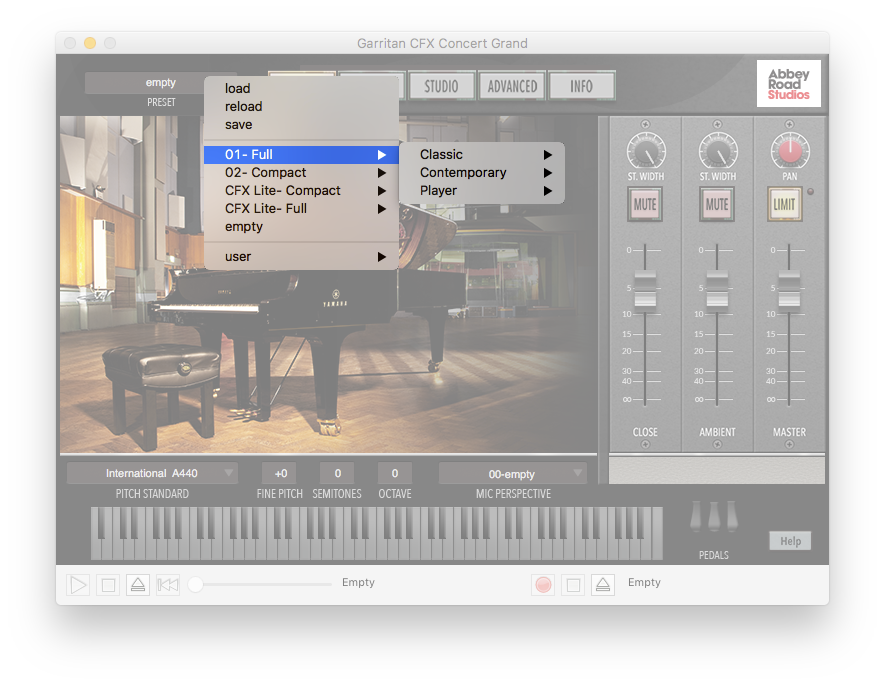
- Click the Preset menu. A drop-down menu with preset options and categories based on the versions of the piano that you installed appears.
- Select a version of the piano. The menu expands, displaying mic perspectives.
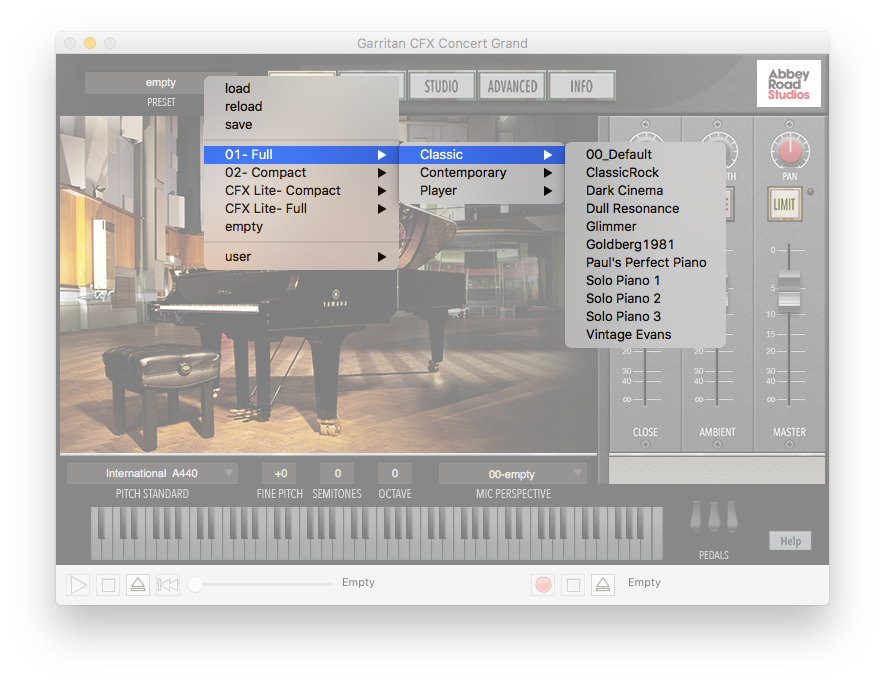
- Select a mic perspective. The menu expands, displaying presets in the chosen category.
- Choose a preset. The settings saved in the preset load, including the chosen mic perspective. When it's finished, the name of the preset appears in the Preset menu, and the controls change to reflect the settings in the preset ARIAX file.

Because the Notation version of the piano is designed for maximum efficiency with notation programs using many virtual instruments, it is a 2-channel instrument, and consequently, does not have its own set of presets.
Specific presets have been designed for each microphone perspective.
If you'd like to try a different mic perspective with your current plug-in settings, load the desired microphone perspective from the Mic Perspective menu.
If after loading a preset, adding effects, or adjusting the settings loaded by that preset, you decide that you prefer the original sound of the preset, reload the preset to restore its original settings.
- Click the Preset menu. A drop-down menu with preset options and categories based on the versions of the piano that you installed appears.
- Click reload. Any changes you made are replaced by the original settings saved in the preset.
If you've got the perfect piano sound for your project, and you want to use it for future projects, save your settings as a preset.
- Click the Preset menu. A drop-down menu with preset options and categories based on the versions of the piano that you installed appears.
- Click save. The save ariax dialog box appears.
- Name your preset, and then click Save.
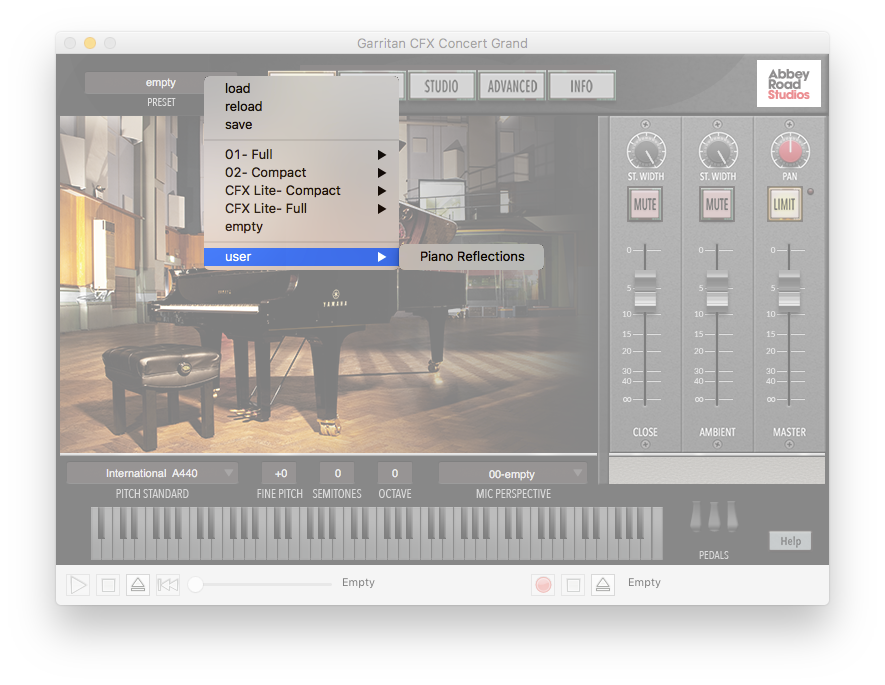
In order to easily load your preset from the Preset menu, save your preset to the default com.Plogue.Aria folder. The com.Plogue.Aria folder is the default location for user-created presets for all of your ARIA engine products.
Presets saved in the default location display in a user sub-menu within the Preset drop-down menu.
If you chose a different location on your hard drive to save your preset, recall it with the load option in the Preset menu.
- Click the Preset menu. A drop-down menu with preset options and categories based on the versions of the piano that you installed appears.
- Click load. The load aria preset dialog box appears.
- Navigate to your saved preset, select it, and then click Open. The settings saved in the preset load. When it's finished, the name of the preset appears in the Preset menu, and the controls have changed to reflect the settings in the preset ARIAX file.
At times, you may want to start from scratch. Empty a preset to remove any loaded mic perspectives or settings, and to clear accumulated RAM usage.
- Click the Preset menu. A drop-down menu with preset options and categories based on the versions of the piano that you installed appears.
- Click empty. The currently selected preset is removed from the Preset menu, affected settings are returned to their default, and RAM Total returns to 0.00 MB.
Leave feedback on this topic
CFX Concert Grand User Manual
Copyright and trademarks

